


MINNIRELLA MAGAZINE
DIY Felt Letter Board
DIY Felt Letter Board
Ever fancied adding a stylish felt letter board to your home décor? This DIY felt letter board tutorial will teach you exactly how. It is easier than you think and also, much cheaper than buying a readymade letter board from a home store!
Pin for Later >>
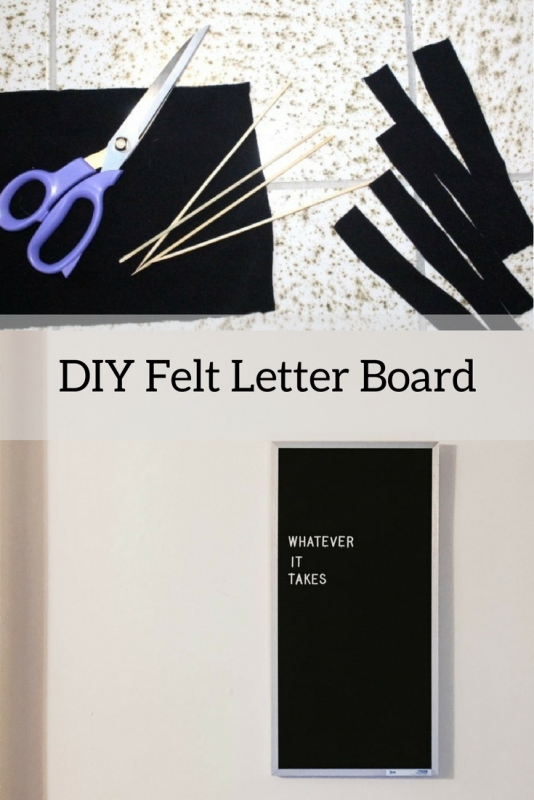

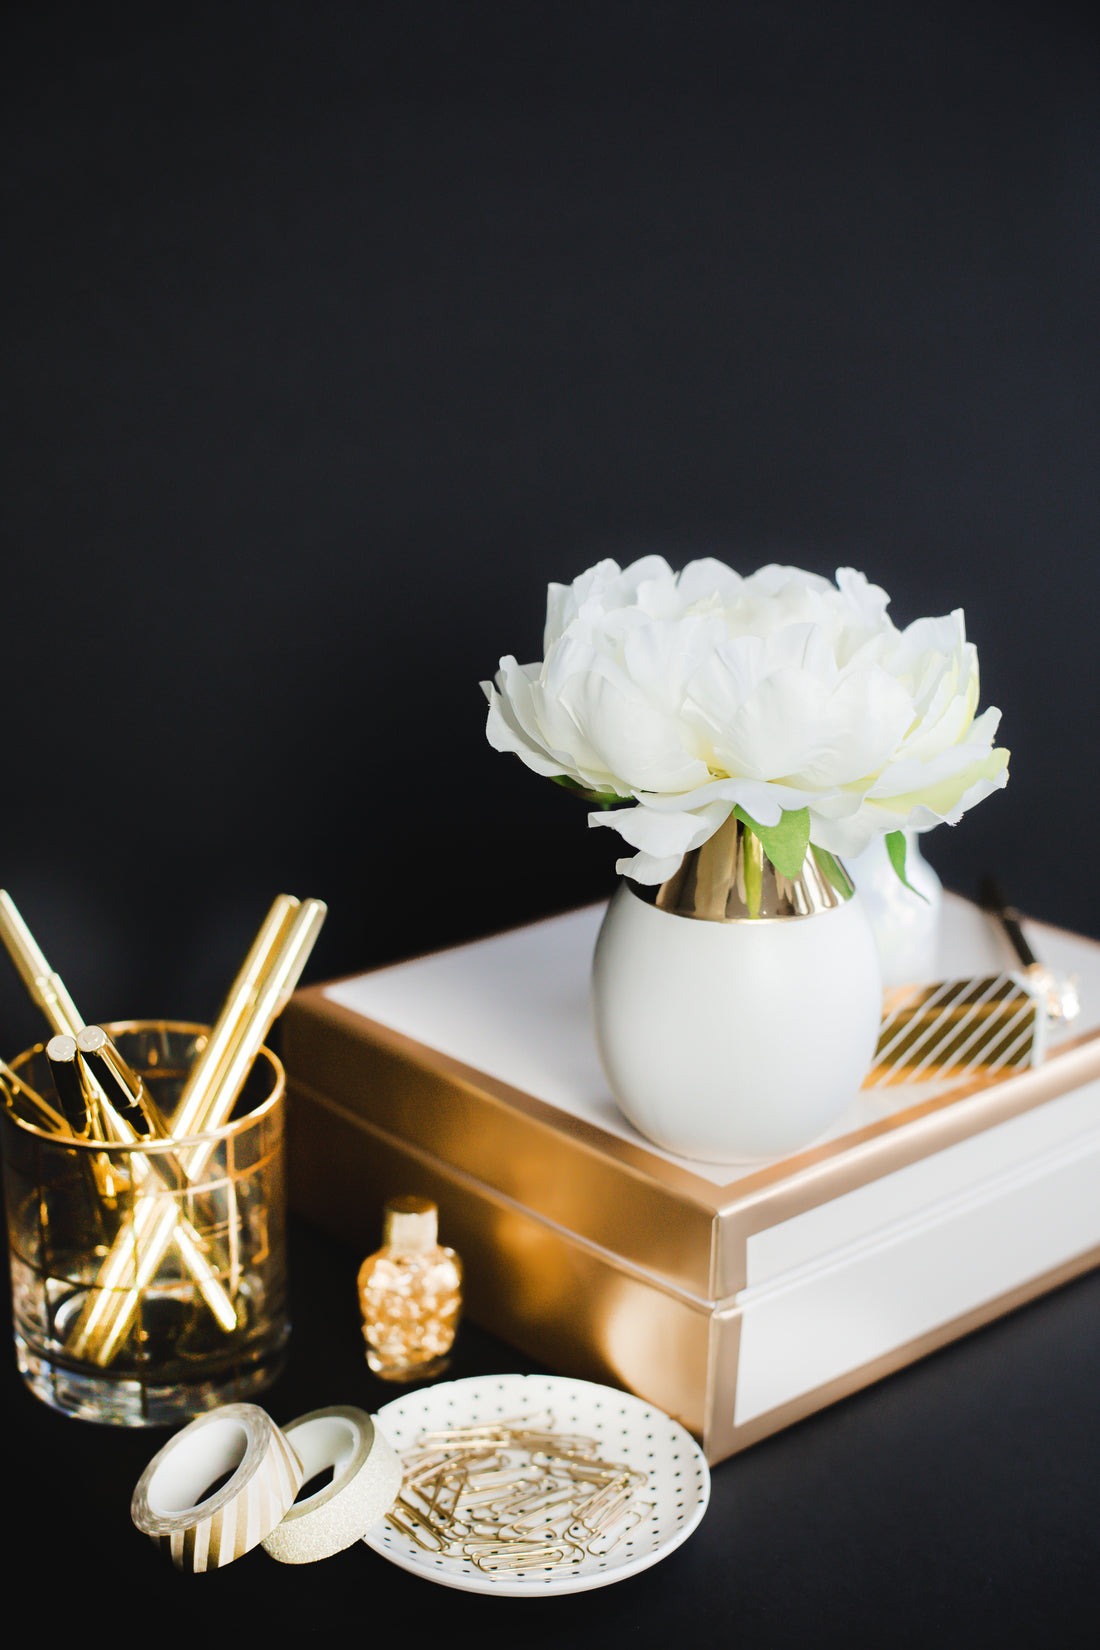
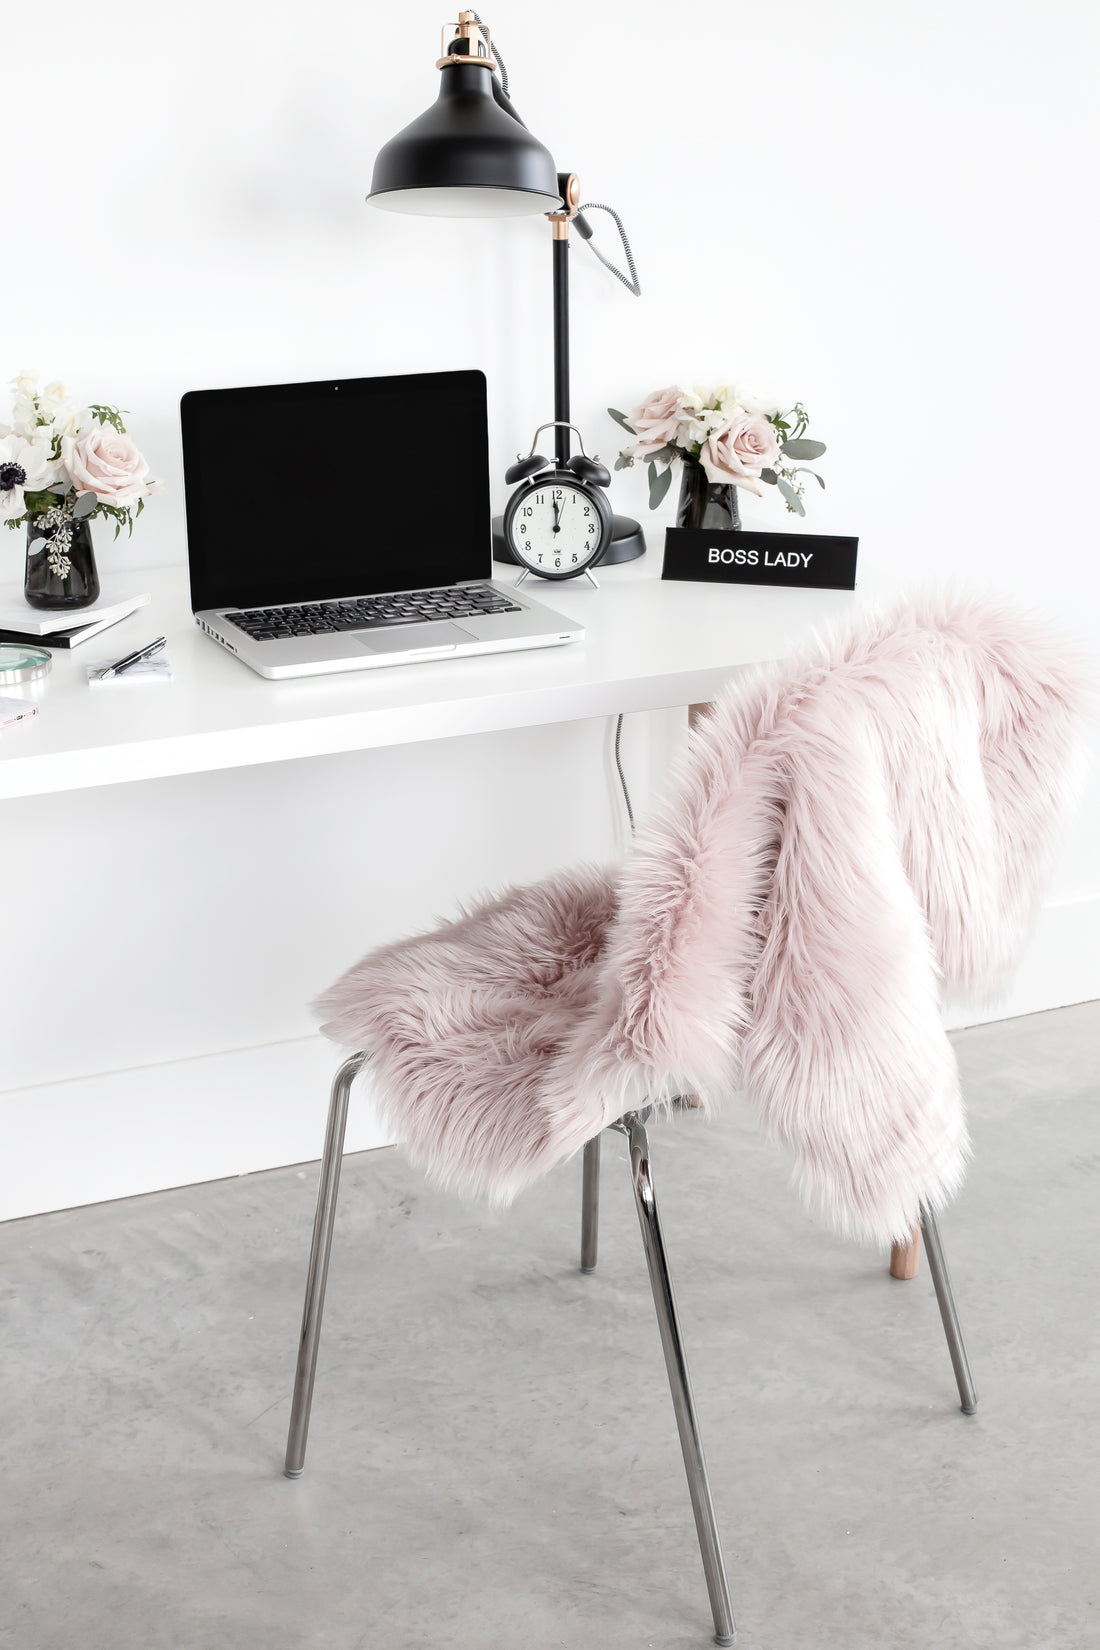
Felt letter boards are practically everywhere at the moment. You see them in magazines, in shops, on advertisements and of course, they plague social media these days! Adored by minimalists, the letter board is ideal for its multifunctional purpose that sits attractively in the home. However, as minimal as these might be in terms of decorative items, their price tag is quite the opposite – as I am sure you’ve already discovered. As much as I support anybody who wants to invest in something slightly luxurious and beautiful for themselves or their home, I thought that this would make an excellent DIY tutorial for you. Plus, the added advantage of making your own felt letter board is that you get to choose the colour of your felt and the colour and style of your photo frame too, making it an original and unique addition to your home!

Pin for Later >>
Felt letter boards are practically everywhere at the moment. You see them in magazines, in shops, on advertisements and of course, they plague social media these days! Adored by minimalists, the letter board is ideal for its multifunctional purpose that sits attractively in the home. However, as minimal as these might be in terms of decorative items, their price tag is quite the opposite – as I am sure you’ve already discovered. As much as I support anybody who wants to invest in something slightly luxurious and beautiful for themselves or their home, I thought that this would make an excellent DIY tutorial for you. Plus, the added advantage of making your own felt letter board is that you get to choose the colour of your felt and the colour and style of your photo frame too, making it an original and unique addition to your home!
What You Will Need to Make Your Own Letter Board:
- 1m2 felt
- One photo frame 20cm (width) x 30cm (length)
- Wooden kebab skewers (20cm length)
- Staples or glue gun
- Letter pegs
How to Make Your Own DIY Letter Board
- Take out the glass front from your photo frame. You will need the back to keep the felt pieces in place.
- Basically, the lengthiest task in this tutorial is to cut the felt into thin strips (about 20cm long and 3-4cm wide) and wrap each wooden stick in the felt. You can use a glue gun to fasten the felt onto the wood but this is time consuming and buying one is not very economical if you don’t already own a glue gun! I used standard paper staples to staple the fabric around the wood. This will look perfectly fine and not at all messy if you staple along one line and don’t staple all over the place.
- After you have wrapped as many wooden skewers as you need in felt, you will need to line them up along the inside of your frame and then add the original frame backing and fasten into place. If you need to cover any staples on display, colour them in with a fabric marker.
- Now all you need are some letter pins and your DIY letter board is complete. Alternatively, you can use this board as a standard notice board – only, the felt and frame style/colour of your choice will be a more stylish and elegant version! I use mine as a standard letter board and as an accessory holder!